
Another attempt to denoise CT Scan of lungs, this time we are going to use more sophisticated Convolutional ResNet Architecture. Specifically, we are going to use the architecture proposed in this paper, “Deep Residual Learning for Image Recognition”. Also, as usual lets do manual back propagation to compare our results.
Network Architecture (Image Form)
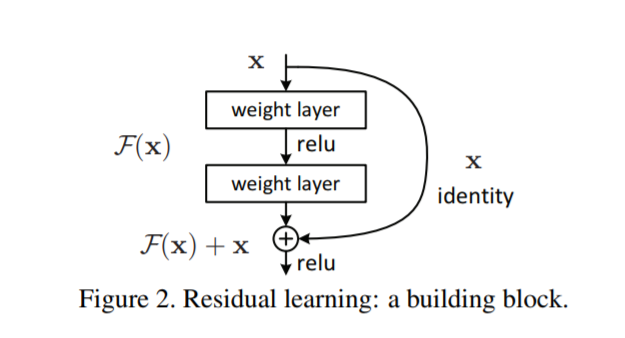
I won’t go into details with this, since this architecture is already so famous on its own. But as a high level overview, we are going to have two convolution operation for each layer, and add up the input to the output.
However, one difference is that we are going to add a third convolution operation to create a bottle neck layer. Let me explain below.
Feed Forward Operation / Bottle Neck Layer

Blue Line → Feed Forward Operation for Short Cut layer
Red Line → Addition of process input (layer1_2) and short cut layer (layer1_s)
So that is the only difference, from the original architecture and our architecture. Please see below for the full network architecture. We only have 3 Res Blocks.

Experiment Setup


Again, the experimental setup is extremely simple, on the left, we have the original image, and on the right we have the contaminated image. To be more specific, I added uniform distribution noise, we can do this by the code below.

Red Line → Creating a Uniform Noise that we are going to add to the image.
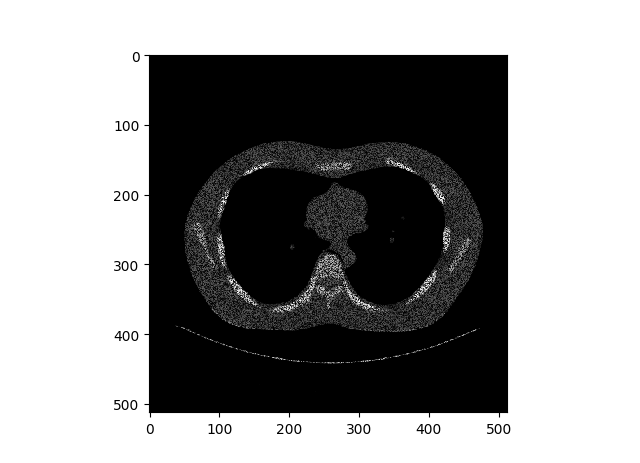
Results (Auto Differentiation)


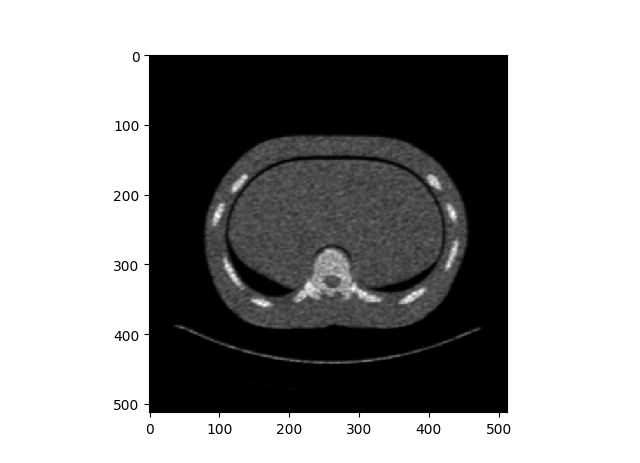
Left → Original Lung CT Scan Image
Middle → Contaminated Image with uniform distribution noise
Right → Denoised Image
In general the network seems to denoise the image correctly, however the produced image have some sharp parts that makes the image bit synthesized.
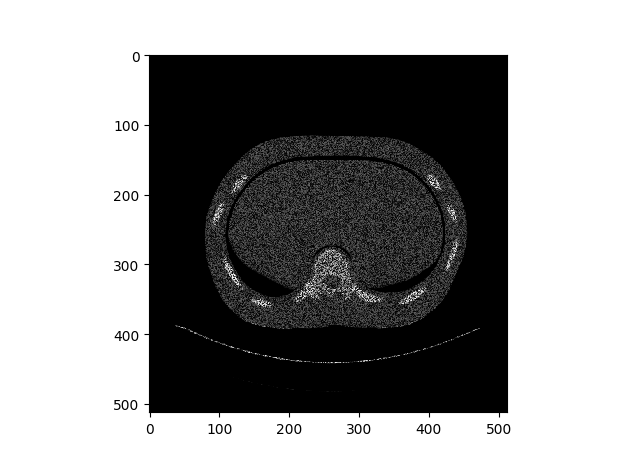
Results (Dilated Back Propagation)


Left → Original Lung CT Scan Image
Middle → Contaminated Image with uniform distribution noise
Right → Denoised Image
For manual back propagation, the images did not have spaces filled up.
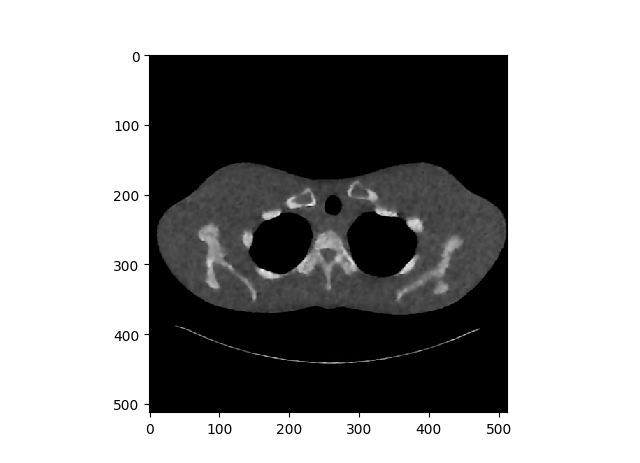
Close Up Look


Left → Original Image
Middle → Resulted Image from Auto Differentiation
Right → Resulted Image from Dilated Back Propagation
When we see the closed up view of each images, we can clearly see most of the sharp edge details are gone. Hence the saga continues……
Interactive Code

For Google Colab, you would need a google account to view the codes, also you can’t run read only scripts in Google Colab so make a copy on your play ground. Finally, I will never ask for permission to access your files on Google Drive, just FYI. Happy Coding!
To access the auto differentiation model please click here.
To access the dilated back prop model please click here.
Final Words
To be honest, I want this saga to continue as long as I can make this posts LOL. And I definitely have some ideas about new models
If any errors are found, please email me at jae.duk.seo@gmail.com, if you wish to see the list of all of my writing please view my website here.
Meanwhile follow me on my twitter here, and visit my website, or my Youtube channel for more content. I also did comparison of Decoupled Neural Network here if you are interested.
Reference
- Only Numpy: Dilated Back Propagation and Google Brain’s Gradient Noise with Interactive Code. (2018). Hacker Noon. Retrieved 30 March 2018, from https://hackernoon.com/only-numpy-dilated-back-propagation-and-google-brains-gradient-noise-with-interactive-code-3a527fc8003c
- He, K., Zhang, X., Ren, S., & Sun, J. (2016). Deep residual learning for image recognition. In Proceedings of the IEEE conference on computer vision and pattern recognition (pp. 770–778).
